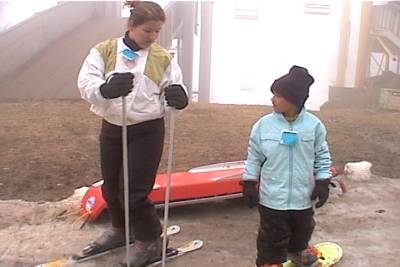
 How are your snowboarding skills? Maybe you've progressed from a rank beginner
last season to a blue run turner and want to push your ability envelope to the
next dimension.
 How are your snowboarding skills? Maybe you've progressed from a rank beginner
last season to a blue run turner and want to push your ability envelope to the
next dimension.
Perhaps you've have reached a point in your riding where you feel confident turning down groomed blue runs but are challenged when faced with steeper, off-piste black diamond runs. You might gain unwanted speed between turns or get popped out of your line from sudden variations in terrain.
Maybe you just feel tense and rigid while riding. Do your shoulders seem like
they are facing the nose of your board when finishing a turn? If one or more of
the above fits, you may be experiencing the notorious intermediate plateau
(I.P.)
How does one cross this plateau and reach the undescribable utopia of expert riding? Take a lesson from an A.A.S.I. (American Association of Snowboard Instructors) certified professional, that's how.
OK, you live in Montana and survive on PB'n J's,- you can't afford it, so here are a few free tips.A common limiting trait demonstrated by I.P. riders is rigidity. Some snowboarders barely change the angles of their ankle, knee, and hip joints. This reduced range of movement is the culprit of numerous walls put up across the I.P.
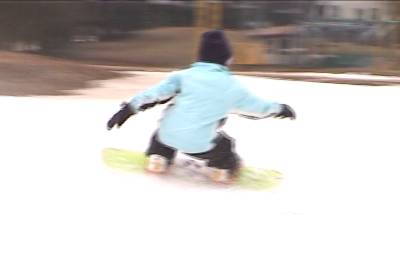 First of all, we need to create a user friendly scale to define the degree of
leg bending. A "zero" reading is when the lower leg is in line with the upper
leg, thus zero knee bend. A "ten" is maximum knee bend; thighs are in contact
with buttocks. Most advanced riders flow between three and seven, but can push
their range of motion from zero to ten when needed. A rigid rider might go from
one to three. Expanding your range of movement can bolster the tools utilized
to negotiate and conquer more difficult terrain as well as aiding in injury
prevention.
A way of improving the degree of leg movement is by mastering the "bump absorbers" drill.After warming up, unstrap from your board and try doing a slow zero to eight or ten movement while in your riding stance. Turn your head towards your normal direction of travel without turning your shoulders. Repeat a few times, then try with your feet attached to your board. Next, head back up to your favorite green or blue groomer and try these same bending and straightening movements when traversing between slow, medium- sized turns. Remember to maintain good form by keeping your hips approximately in line with your board and turning your head towards the direction of travel.
After
a run or two, search out a green or easy blue bump run. Starting on the toe
edge, traverse through the bumps to a safe point on the run's edge. Maintain a
near constant speed so you don't stall out or catch air off any bumps. Let your
legs absorb the bumps, forcing you to increase your range of motion. The goal
of the drill is to keep your board in contact with the snow by sucking up the
bumps: bend your leg joints while going up the bump, then straighten them while
traveling down the bump. Ideally, your lead leg will bend just before your rear
leg causing independent suspension. Remember that your upper body should remain
relatively quiet, with your shoulders and hips approximately parallel to the
board. Try the same thing on the heel edge, rinse and repeat. When you're
confident, dial up the speed or terrain little by little until your legs are
firing like hot pistons on a souped up Chevy.
Another common limiting trait among I.P. riders is the way in which they initiate their turns or edge changes. Some riders use their shoulders or hips for the driving force behind turning. It's not a wrong or evil way to start a turn, in fact it works great on mellow terrain. It's just that there are better and more efficient moves to make at the end of a turn to cause your board to change edges.
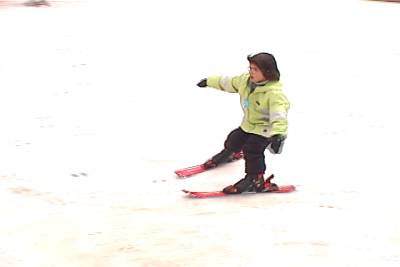 An awesome initiation move when going from the toe to heel edge involves your
lower leg and foot. Your lower leg and foot are closer to your board so it
makes sense, right? First try this move while strapped into your board on flat
snow. In your neutral (shoulders and hips parallel to the board) stance with
your legs at about a two or three, roll your lead knee towards the tip of your
board. You should feel the inside of your lead foot lifting up while the
outside is pressing down. Also, try to feel the big piggie toe of your lead
foot lifting up to touch the top of the inside of your boot, causing the front
toe edge to separate from the snow. You may notice a slight twist along the
length of your board- it's a good thing. Your rear leg may straighten a bit
causing your hips to move closer to the tip of your board-this is also a good
thing.
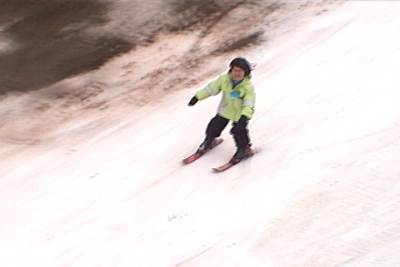 Next, try this move while riding in a toe edge traverse on mellow terrain.
Experiment with how much knee and foot roll it takes to get the board onto the
heel edge. The edge change should come much quicker, allowing more time to
shape and control the turn than the slower hip and shoulder turn initiation.
Increase the speed and terrain when comfortable, focusing only on this
toe-to-heel edge change. Rinse and repeat.
 For the heel-to-toe edge change, try this move first while stationary: lift the
heel of your lead foot while bending your lead knee. Try to feel your ankle
strap tighten across your instep.You will probably notice your board twisting
and the front heel edge lifting from the snow. Your rear leg will straighten a
wee bit and your hips should move closer to the board's nose. Load the lift,
then experiment with this movement while riding in a heel edge traverse at slow
speeds on mellow terrain. Once dialed in, try making both initiation moves
during smooth, linked "S" shaped turns. Rinse and repeat for added muscle
memory.
Hopefully these tips will help you break through to experience the uber joy of riding the steep, deep, and bumpy.